
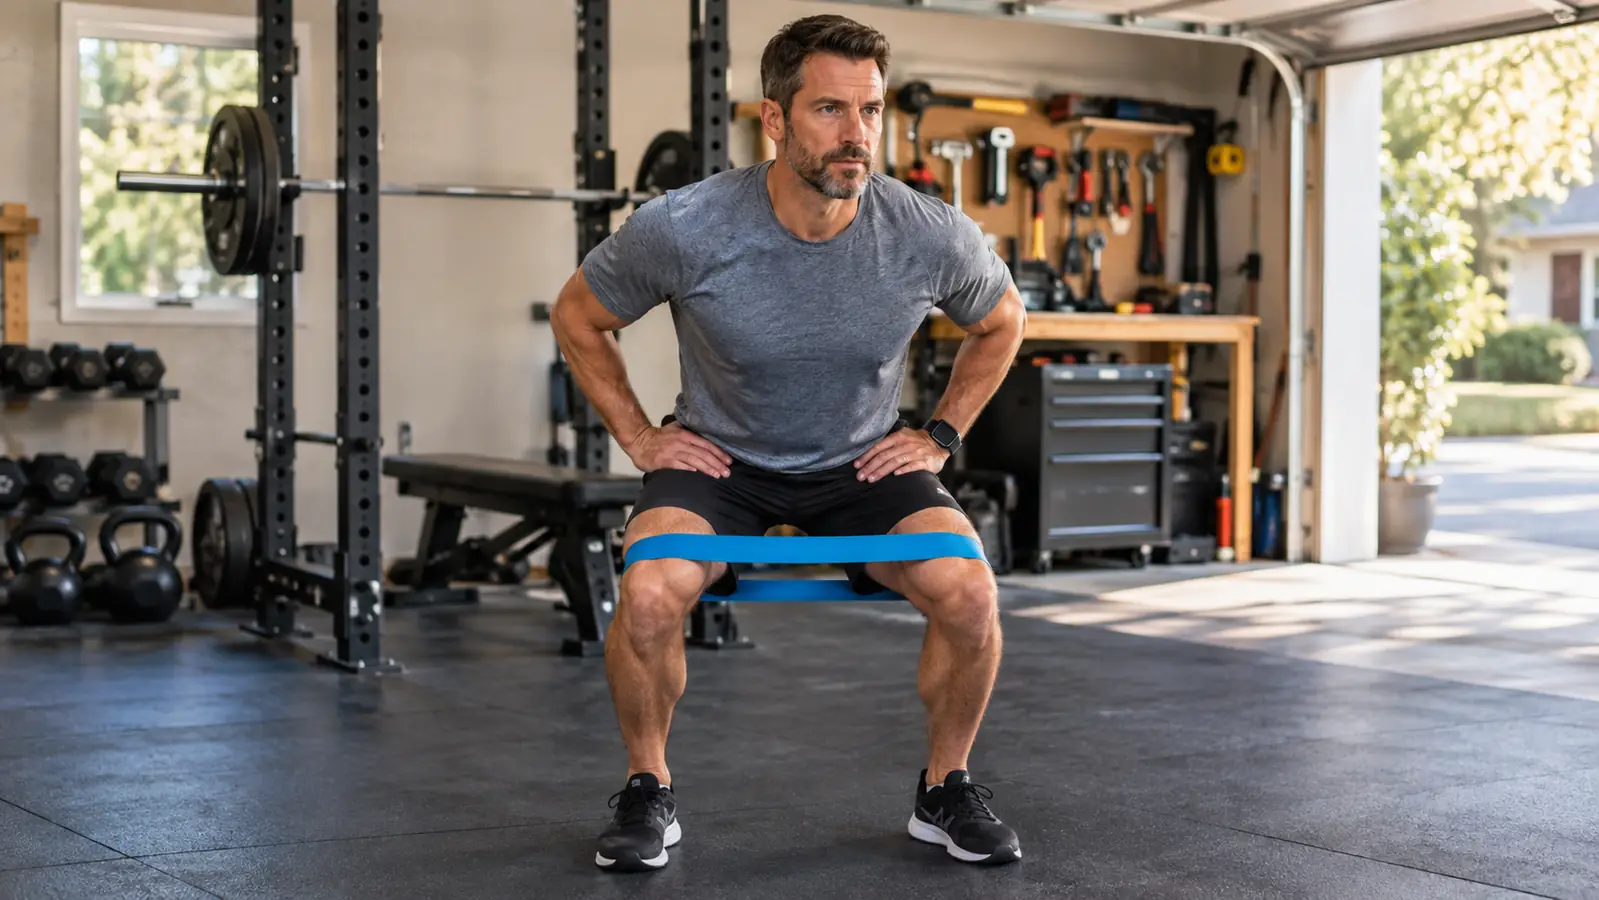
Last January I finished a Tuesday night basketball game, walked out to the truck, and could not get my right leg into the floorboard without lifting it with my hands. Two days later my hips were still cranky. So I did what most guys my age do first: I stretched my hip flexors twenty minutes a night for a month and got exactly nothing for it. A friend who does physical therapy work for a college program watched me stand up from a chair and told me the stretching was not the problem. My glutes had quit doing their share of the work, and my lower back and hamstrings were covering for them. That is the story of most stiff hips after 40, and you cannot pull your way out of it from the front of your leg.
The fix turned out to be a set of Fit Simplify resistance loop bands I bought on a whim, mostly because they were cheap and they fit in a gym bag. Two years later that set of five is still riding behind the seat of my truck, still not broken, and it is the first thing I touch before a game, a garage lift, or a practice with my son Tanner's travel team. The warmup below takes about eleven minutes start to finish. This is the version I actually do, in the order I do it, including the two steps I skipped for a month because they looked boring and turned out to be the ones that mattered.
The eleven minute warmup starts with one small bag
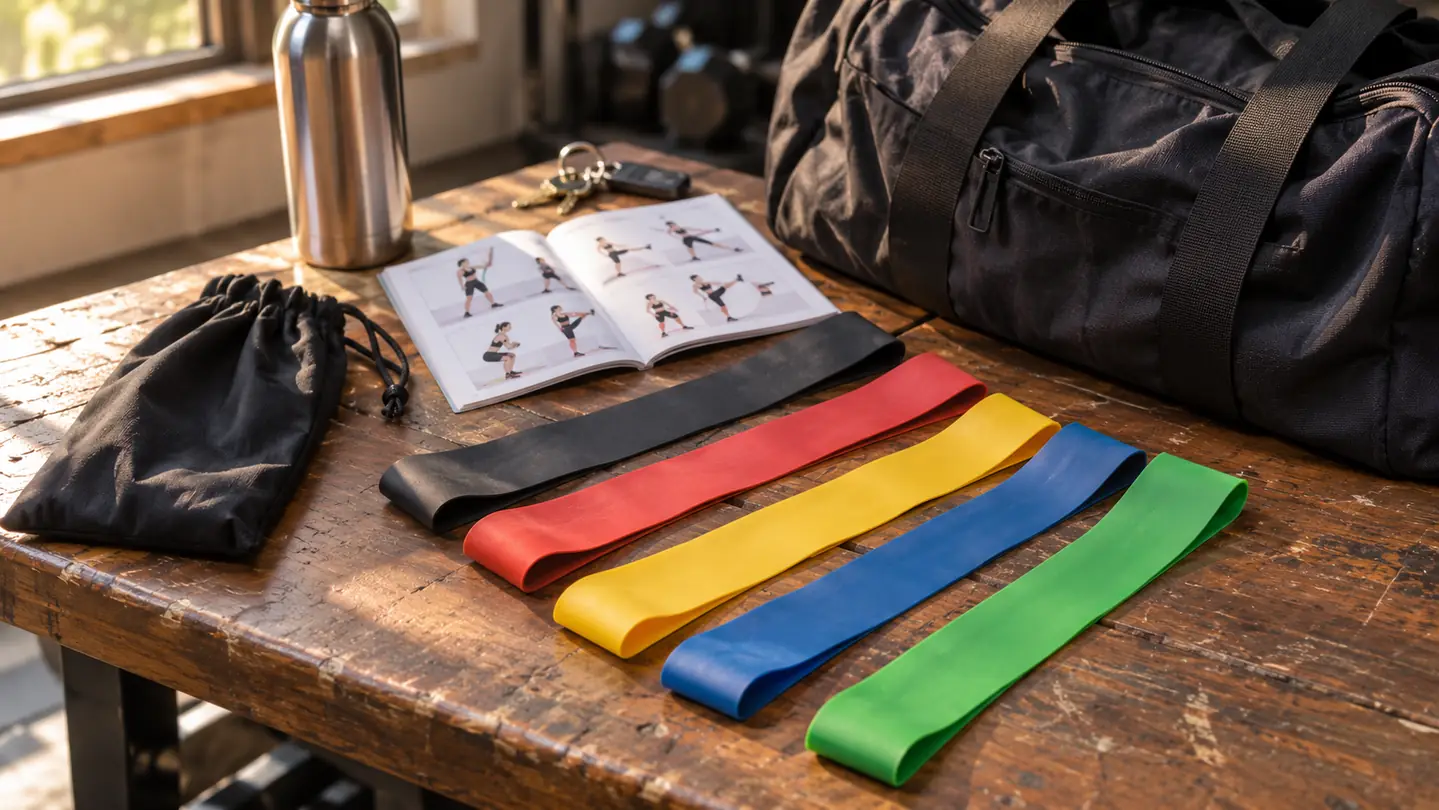
Fit Simplify loop bands, a set of five resistance levels in latex, each loop 12 inches by 3 inches, with a carry bag and an illustrated instruction booklet. The set that has lived in my gym bag for two years.
Amazon See the 5-band set on Amazon →One rule before the steps. A warmup is not a workout. If you finish eleven minutes with your legs burning, you used too much band or too many reps, and you spent energy you needed for the second half. The point here is to get blood into the joint, wake up the muscles that are asleep, and remind your body what a hip is supposed to do when you push off. Everything below is scaled for that, not for soreness the next day.
Step 1: Match the band to the joint, not to your ego
The set has five resistance levels, from extra light up to extra heavy, and the instinct is to grab the heaviest one because it feels like work. That is the wrong end of the bag for a warmup. For hips and shoulders I use the two lightest Fit Simplify bands almost every time. A heavy band in a warmup pulls your knees out of line, your form goes, and you end up wrestling the band instead of feeling the joint move. Save the heavier levels for bridges and monster walks once there is some heat in you.
Here is the test I use. Do 15 easy reps of whatever movement comes next. If rep 15 looks like rep 1, you have the right band. If you are leaning back, holding your breath, or your knee is caving in to fight the tension, drop down a level and stop arguing with it. Nobody in the history of Tuesday night basketball has lost a game because his warmup band was too light.
I keep the two lightest loops on the outside of the carry bag so I am not digging around at 6:15 in the morning. Small thing, but the difference between doing this and skipping it is usually whether the gear is already in your hand. The whole set weighs three and a half ounces, so there is no excuse about it being too much to haul around.
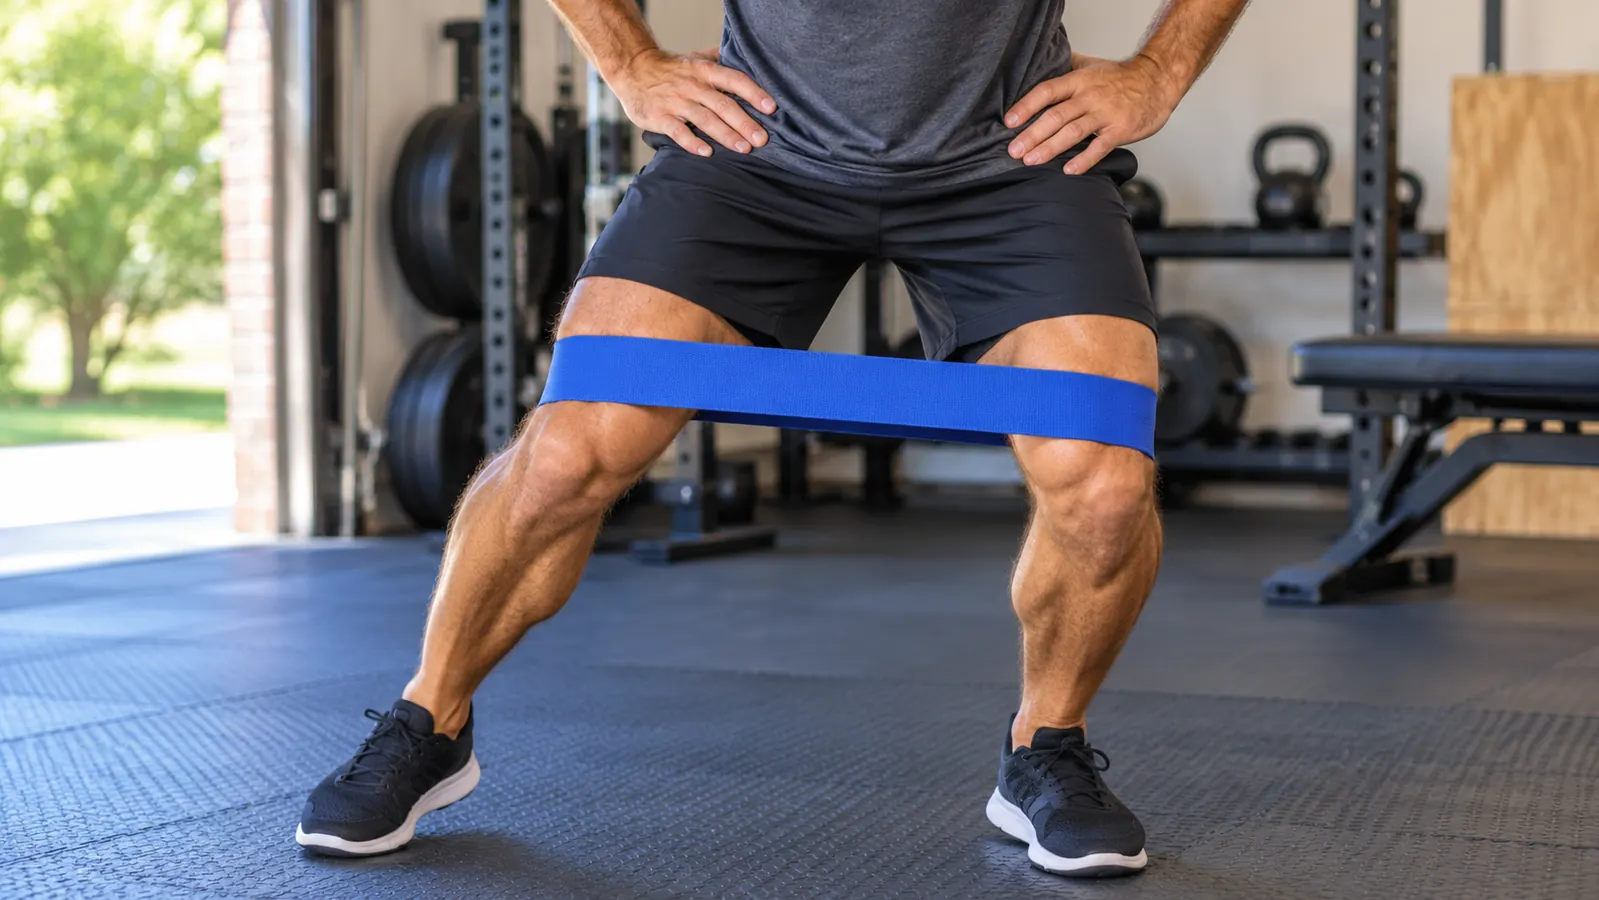
Step 2: Band above the knees, then walk sideways
Slide the band up so it sits just above both knees. Feet about hip width. Drop into a quarter squat, chest up, and take ten or twelve steps to your left, then ten or twelve back to the right. Toes stay pointed forward the whole time. The trailing knee has to stay pushed out, not cave in, because the muscle doing the work here is the glute medius, the one on the outside of your hip that you never think about until it stops showing up.
That muscle is the reason this step comes second and not last. When it is asleep, your hip rolls inward every time you push off, and your knee and lower back pay the bill for it. Ten steps sideways with a light band wakes it up faster than anything I ever tried on a mat. Go slower than feels natural. Speed lets momentum do the work and turns the whole thing into a card trick where nothing is actually happening.
Keep the loop flat against your leg. The bands are 12 inches by 3 inches and a quarter inch thick, and a loop that rolls up will pinch the back of your knee and make you quit early. Smooth it out with your thumbs before the first step and it stays put through both directions. I also check that it has not crept up onto the kneecap between sets.
Eleven minutes with a band before a game has done more for my hips than three months of stretching after one.
Step 3: Fire the glutes with bridges and clamshells
Lie on your back with the band still above your knees, feet flat and about a foot apart. Push your knees out against the band and drive your hips up until your body makes a straight line from knees to shoulders. Hold the top for a two count, come down slow, and do 12 to 15 reps. The push against the band is the part people leave out, and it is the only part that actually turns the muscle on instead of just moving your hips up and down.
Then roll onto your side for clamshells. Band above the knees, knees bent, feet together, hips stacked so you are not rolling backward. Open the top knee against the band 10 to 12 times, hold a beat at the top, then switch sides. If you feel this only in the front of your hip, tuck your pelvis slightly and slow the reps down. Chasing reps here is pointless. Nobody is grading you and your glutes are not impressed.
The first week I ran this, I was sore in a spot I did not know I had. That is what happens when your hamstrings have been doing a job that was never theirs to begin with. It passed in about ten days, and the bigger change was that my lower back stopped talking to me on the drive home from games.
Step 4: Drop the band to your ankles and slow everything down
Same sideways walk, but now the loop sits around your ankles. Ten steps each direction. It is harder than it reads because your feet have to stay separated while you travel, and the smaller steps are the honest ones. If it looks like a shuffle at first, that is exactly what it should look like. The guys I coach want to take giant steps with this and it turns into a lunge, which is a different exercise.
Then hold the squat rack with one hand and do standing hip abduction. Lift the outside leg away from your body against the band, ten slow reps per side, hips level, and resist the urge to lean away from the working leg to get more range. On good days I add hip airplanes here, hinging forward on one leg with the rack for balance and rotating the free hip open and closed, but only after the first four steps feel easy. This is the section that made a difference on the softball field, where you push off at bad angles and your hip has to hold the line.
I skipped this one for the first month because it looked boring and because standing on one leg in a garage at 6:15 in the morning is not glamorous. My hips reminded me about it the first time I tried to turn on a slow ground ball and felt everything from my hip to my heel go stiff at once.
Step 5: Spend the last two minutes on your upper back
I caught for four years in college and my shoulders still file complaints. Band pull-aparts at chest height, arms straight, 15 reps, squeezing your shoulder blades together at the end of every one. Then band external rotations with your elbows pinned to your sides, 12 slow reps per side. Your shoulder is part of your hip power. Nothing transfers through a stiff upper back, and you can feel the difference the first time you swing a bat after doing this.
When I run pregame for Tanner's team, this is the part the kids groan about and the part the ones with sore arms thank me for three weeks later. Light band, two minutes, before they pick up a ball. If a 14 year old will do it without a fight, so will you.
Then the whole set goes back in the carry bag that came with it. That is why mine lives in my gym bag and not on the wire shelf by the door with the rest of my recovery gear. Gear you have to walk back into the house to find is gear you stop using by the second week of the season.
What Else Helps
Roll first if you have the extra thirty seconds. Sixty to ninety seconds a side on the hamstrings and the outside of the thigh, then go straight into the bands. I use a 13-inch foam roller on the garage mat most mornings. It does not fix anything on its own, but it makes the first set of band walks feel less like dragging a door through gravel, and that is worth the two minutes.
Get a little warm before any of this. Five minutes of walking, a few jumping jacks, a couple of easy bodyweight squats, whatever gets your breathing up without turning into a workout. Cold tissue and a band is a bad combination, and it is how a 46 year old tweaks something in his own driveway before a game he was supposed to be the healthy one in.
Do it before every game and every lift, not just the mornings your hips hurt. Two years of this and I have not had another January where I had to lift my own leg into the truck. The Fit Simplify set has been in the bag the whole time and I have not snapped a single band, which for a set that lives next to a squat rack is its own kind of review.
And know the difference between stiff and hurt. Burn and tightness that loosen up as you move are normal. Sharp pain, pain that wakes you up at night, or pain that hangs on past a week is not a warmup problem, and no band is going to fix it. Go see a doctor or a physical therapist. I am an assistant athletic director who plays too much basketball, not a medical professional, and I have watched enough teenagers try to push through something real to know better than to tell you otherwise.
Two years in a gym bag and not one band has snapped
Five resistance levels from extra light to extra heavy, a carry bag, and an illustrated instruction booklet with dozens of movements. The set I warm up with before every game and every garage lift.
Amazon See the Fit Simplify set on Amazon →